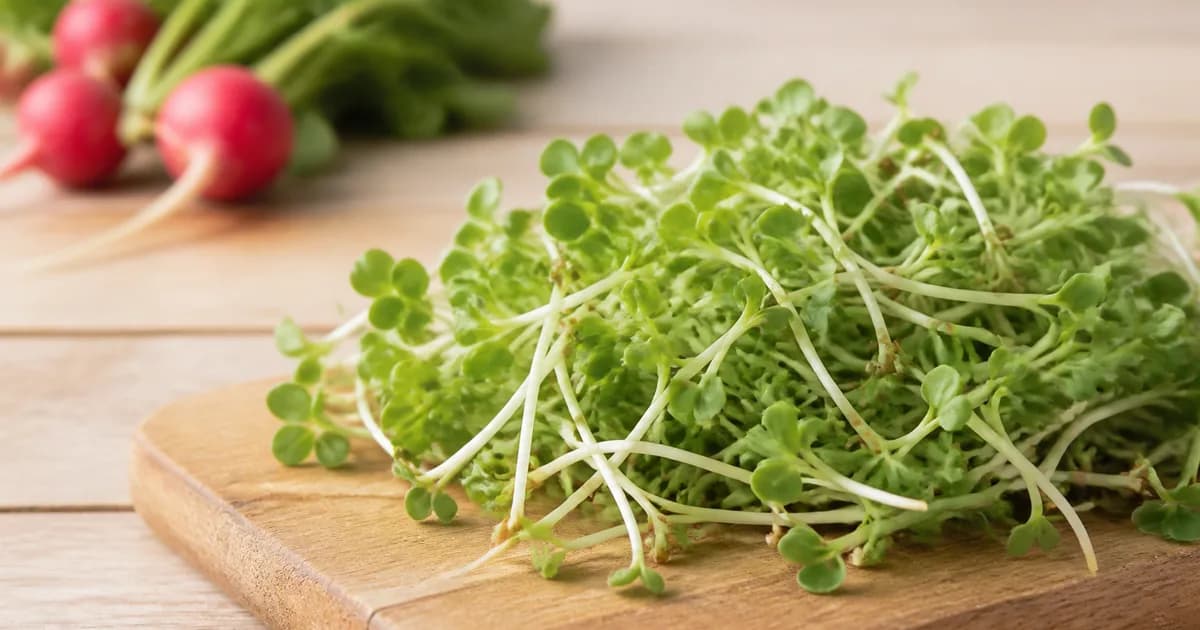
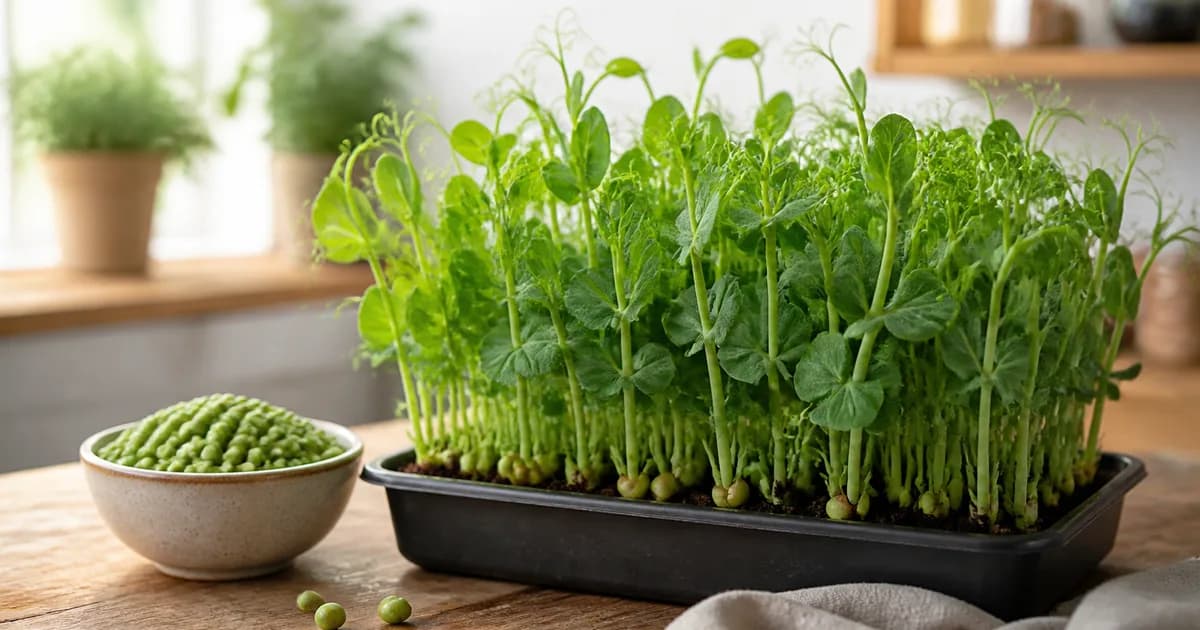
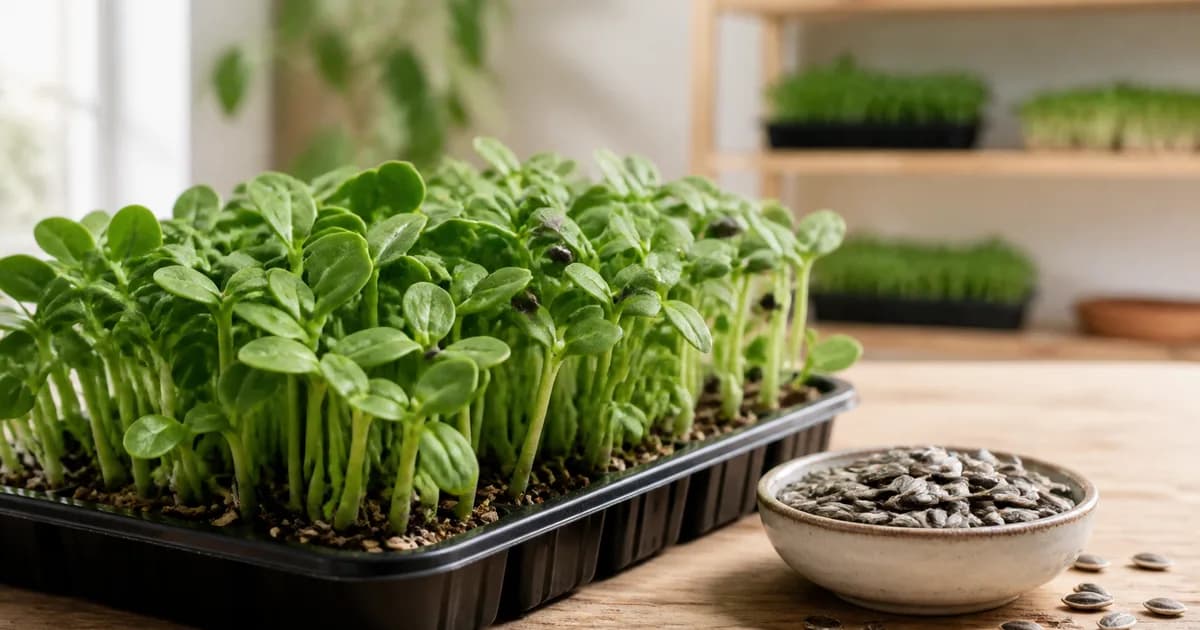
Choose a variety
Compare difficulty, flavor and harvest time, then follow the guide for your chosen crop.
Explore guidesFrom seed to table · Microgreens
Make a little space for microgreens. Watch the first sprout, discover your crops and bring your harvest to the table.
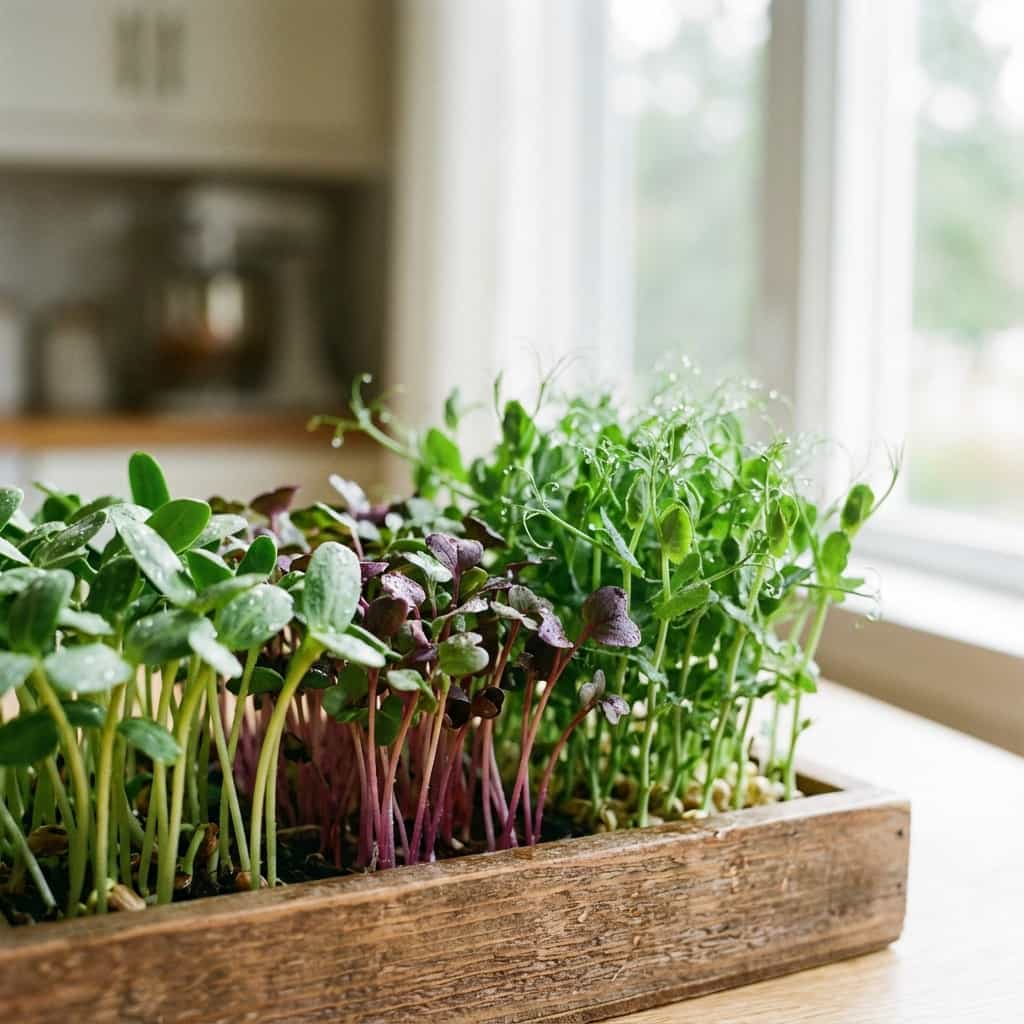
A small beginning. Something new each day.
Seeds are scattered thickly and evenly over moist soil.
Turn off automatic care and water it yourself; wait too long and the sprouts droop.
Compare difficulty, flavor and harvest time, then follow the guide for your chosen crop.
Explore guidesConsider moisture, light and airflow together. Find the relevant guide when a problem appears.
Explore guidesCheck the crop’s harvest window in its guide and plan your sowing and harvest dates.
Explore guides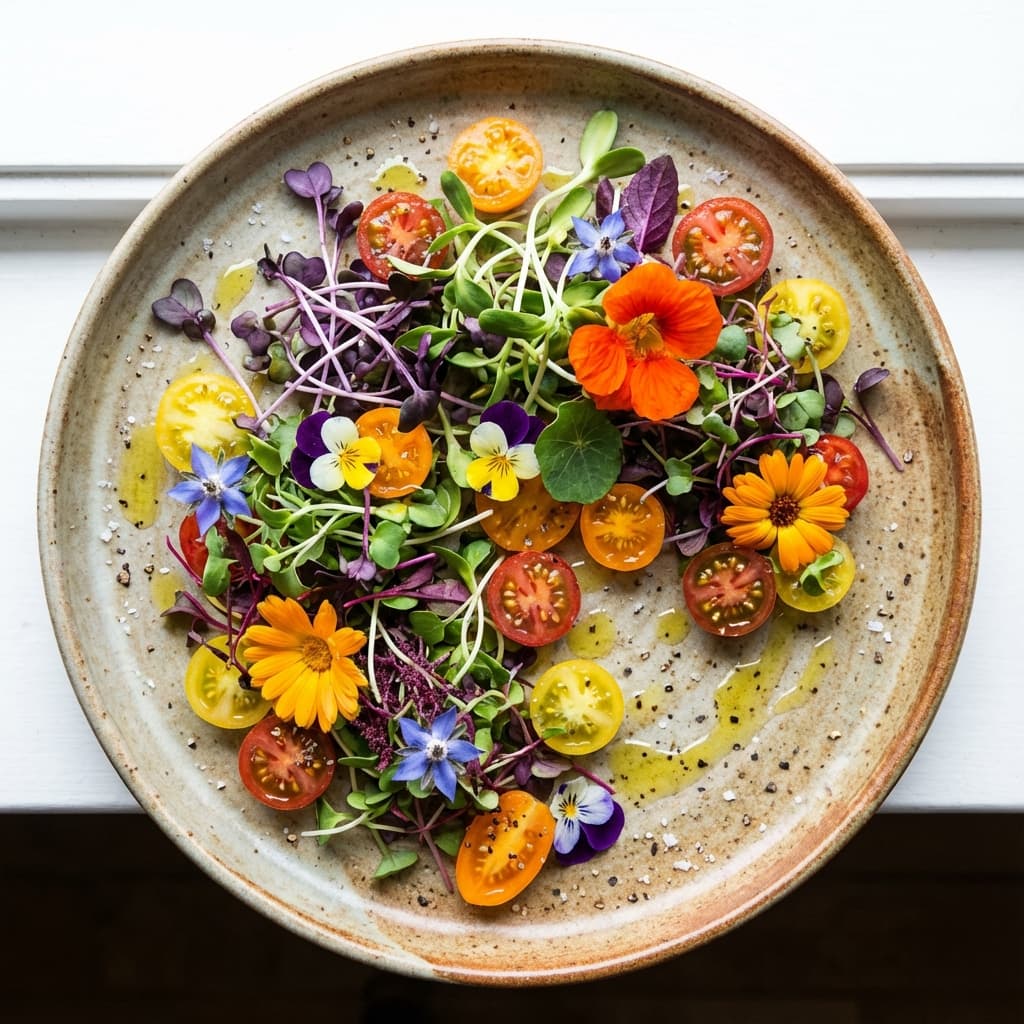
After the harvest
Start with a handful of freshness. Find an idea for your harvest, from salads to breakfast.
Explore recipesRead per-100 g, protein, fiber and serving data alongside the crop and study scope.
Save articles, recipes and variety guides to your account. Choose your interests and access your reading list on another device.
Go to my reading listHigh-impact answers before your first microgreens tray
Most microgreens are harvest-ready in 7-14 days. Fast crops like radish finish sooner, while pea shoots and cilantro usually need more time.
Radish, broccoli, sunflower, and pea shoots are reliable starter crops. They germinate strongly and handle minor mistakes better than delicate varieties.
Window light can work, but consistency is harder. For stable year-round production, 12-16 hours of LED grow light per day is the safer setup.
Check moisture once or twice daily. Keep the medium evenly moist, avoid pooling water, and prefer bottom watering to lower mold risk.
Yes. With stable temperature, airflow, and lighting, you can run continuous indoor microgreens production in every season.